Introduction
Screen recording is one of the most useful features on an iPhone. It lets you capture exactly what is happening on your screen. You can use it to make tutorials. You can save live content before it disappears. You can record your gameplay to share with friends. It helps you troubleshoot app problems. You can even capture video calls for later review.
In this guide, you will learn how to screen record on iPhone step by step. We cover everything from basic setup to recording with audio. Whether you use an iPhone 15 or an older model, this guide has you covered.
Does iPhone Include a Built-In Screen Recorder?
Yes. Every iPhone comes with a built-in screen recorder. Apple added this feature in iOS 11. You do not need to download any third-party app to get started. The tool is free and already on your device.
The screen recording feature works on all modern iPhones. This includes the iPhone 8 and all newer models. If your iPhone runs iOS 11 or later, you are ready to go. Just make sure your software is up to date in Settings > General > Software Update.
How to Enable Screen Recording in Control Center
Before you can record, you need to add the Screen Recording button to your Control Center. Here is how to do it:
- Open the Settings app on your iPhone.
- Scroll down and tap Control Center.
- Look for Screen Recording under More Controls.
- Tap the green plus (+) button next to it.
- The button will move to your Included Controls list.
That is it. The Screen Recording icon is now in your Control Center and ready to use.
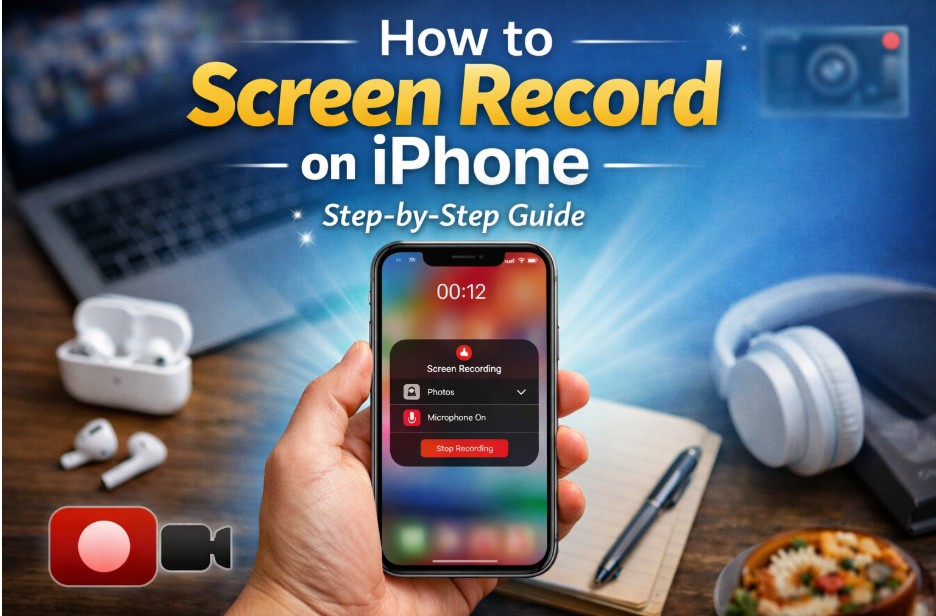
How to Record Your iPhone Screen (Standard Method)
Once you have added the button, recording your screen is simple. Follow these steps:
- Swipe down from the top-right corner of your screen. On older iPhones with a Home button, swipe up from the bottom.
- Tap the Screen Record icon. It looks like a filled circle inside a larger circle.
- A three-second countdown will begin. Get ready to record.
- The status bar at the top of your screen will turn red. This means recording has started.
- To stop, tap the red status bar at the top. Then tap Stop in the pop-up. Or open Control Center and tap the Screen Record icon again.
- Open the Photos app. Your recording will be saved there automatically.
Your video is now saved and ready to edit or share.
How to Screen Record on iPhone with Audio
By default, your iPhone records system sounds. This includes app sounds, music, and notifications. But you can also record your own voice using the microphone.
To add microphone audio before recording:
- Open Control Center.
- Press and hold the Screen Record icon.
- A menu will appear. Tap the Microphone button at the bottom.
- When it turns red, the microphone is on.
- Tap Start Recording.
Internal audio is what the device plays, like game sounds or music. External audio is your voice through the microphone. You can use both at the same time.
This is perfect for making tutorial videos, voiceover recordings, or reaction content.
How to Screen Record FaceTime, Zoom, or Other Video Calls
You can screen record while on a FaceTime or Zoom call. The process is the same as recording any other screen. Open Control Center and tap the record button while on your call.
However, there are some important things to know. Apple may block audio recording during FaceTime calls. Some apps like Zoom or Netflix also block screen recording for privacy or copyright reasons.
Always get consent before recording a call. Recording someone without permission may be illegal in your region. Check the privacy laws in your country before recording conversations.
If a call app blocks screen recording, a black screen may appear in your recording instead of the video content.
How to Screen Record Without Using Control Center
Do not want to use Control Center? Here are three alternative ways to record your iPhone screen.
1. Use QuickTime Player on a Mac
Connect your iPhone to your Mac with a USB cable. Open QuickTime Player. Go to File > New Movie Recording. Click the dropdown arrow next to the record button. Select your iPhone as the camera and microphone source. Click Record to start. This method gives you a high-quality recording on your computer.
2. Use Third-Party Recording Software
Several tools let you mirror and record your iPhone screen on a computer. For Windows users, you can use screen mirroring apps paired with screen recorders.
If you want to screen record on PC, Leawo Free Screen Recorder is a great option. It is free to use and easy to set up. You can capture your mirrored iPhone screen with just a few clicks.
For more advanced recording needs, CleverGet Recorder is a powerful tool worth exploring. It supports high-quality screen capture and works well for saving streaming content and tutorials.
3. Use AssistiveTouch
AssistiveTouch is an accessibility feature on iPhone. You can set a custom action to start screen recording. Go to Settings > Accessibility > Touch > AssistiveTouch. Turn it on. Then go to Customize Top Level Menu and add Screen Recording as a shortcut. Now you can tap the AssistiveTouch button to begin recording anytime.
FAQs
1. Can I Record My iPhone Screen on a PC or Mac?
Yes, you can. On a Mac, use QuickTime Player with a USB connection. It is free and built into macOS. On a Windows PC, you need a screen mirroring app and a screen recorder. Mirror your iPhone to your computer using tools like AirPlay or a USB mirror app. Then record the screen using dedicated software. This method is great for longer, higher-quality recordings.
2. Why Does iPhone Screen Recording Sometimes Stop or Have No Sound?
There are a few common reasons for this:
- Your iPhone storage is full. Free up space and try again.
- The app you are recording does not allow it. Some apps block screen recording.
- The microphone is turned off. Press and hold the record icon to check.
- Your iPhone is on Silent mode. This can affect internal audio capture.
If the issue keeps happening, restart your iPhone. Then try recording again.
3. Where Are Screen Recordings Saved?
Your screen recordings are saved automatically in the Photos app. Open Photos and go to Recents or the Videos album. You will find your recording there. You can edit it, trim it, or share it directly from the Photos app.
4. Is It Legal to Screen Record Video Calls or Streaming Apps?
It depends on where you live and what you are recording. In many places, recording someone without their knowledge is illegal. Always tell people on a call that you are recording. Streaming apps like Netflix or Disney+ also have rules against recording. Their content is protected by copyright law. Recording and sharing that content can lead to legal issues. Always check the terms of service before you record.
Conclusion
Screen recording on iPhone is easy once you know where to look. Start by adding the Screen Recording button to your Control Center. Then open it whenever you want to record. Enable the microphone if you want to add your voice. Stop the recording with a tap, and find your video in the Photos app.
For calls and live content, be aware of app restrictions and privacy laws. If you need to record your iPhone on a computer, QuickTime on Mac is a free and easy option. For Windows users, third-party tools make it simple too.
Choose the method that works best for your needs. The built-in iPhone recorder is great for quick captures. External software is better for long sessions or high-quality output.
Now you know how to screen record on iPhone. Go ahead and try it yourself.