Polyvinyl Acetate (PVA), or white glue, is the workshop’s quiet workhorse. Although people tend to associate it with primary school projects, many building professionals and enthusiasts will agree that it is a cornerstone of high-end joinery and home repair.
It can create a “substrate-failing” bond, the type in which the adhesive breaks after the material. This artistic adhesive balances structural integrity with ease of use in ways that simplify complex projects. This amazing capacity sets it apart from brittle instant glues or toxic resins.
Whether you are a DIY enthusiast or a school teacher wanting to impart invaluable knowledge to the future master craftsmen in your class, PVA glue is perhaps the perfect introduction to this new chapter.
In this guide, we will discuss what makes this adhesive ideal for professional projects and DIY tasks, the best techniques for applying it, and how it makes crafting easier.
Physics of the Bond using PVA Glue
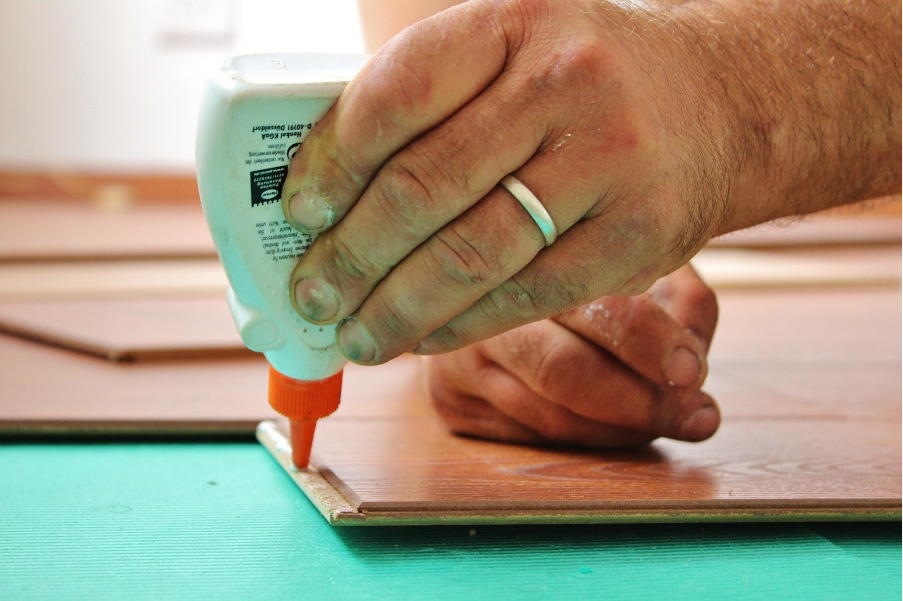
The PVA glue effectiveness comes from its ability to penetrate porous spaces. When you apply it to wood, paper, or terracotta, the water carrier becomes the vehicle that pulls the polymer chains deep into the material’s microscopic fibers. These chains interlock as soon as the water evaporates, forming a mechanical bond that effectively joins two separate pieces into a single unit.
A Grand View Research market analysisreveals that the global water-based adhesive market will experience significant growth at a CAGR of 9.5% between 2025 and 2030. This is mainly a consequence of their low VOC emissions and safety profile in home environments.
Key Benefits for the DIY Enthusiast
PVA has many practical advantages that reduce the margin for error. It is the reason for the widespread use of this adhesive in domestic settings and professional shops. Here are some of the benefits that both beginners and professionals can benefit from applying PVA glue:
- Extended Open Time: It gives you up to 15 minutes to adjust your work; sufficient time to make amends where necessary. This is an essential period for handling complex projects such as drawers, cabinets, or bookshelves, where you must correctly align multiple materials or wood parts.
- Non-Toxicity: It doesn’t emit harsh fumes. As a water-based product, it is nontoxic and safe for people of all ages. This non-toxic advantage is the reason why it is the ideal adhesive for indoor crafting, especially with family members and children without needing to specially ventilate the area.
- Invisible Seams: After use, it produces a translucent or pale amber finish when dry. When you properly clamp them, the glue line becomes almost invisible. This permits the material’s natural beauty to shine.
- Water Cleanup: One of its most underrated benefits is how easy it is to clean. You can easily wipe away the spills or the excess glue pushed out of a joint with a damp cloth. This prevents the dried residue from ruining your final paint job.
Techniques for Maximum Strength
Modern PVA formulations are incredibly strong; their shear strengths are higher than the wood’s own natural strength. So, you are on the right track if you want to move from basic sticking and into structural DIY. However, you must deploy certain special techniques to make sure that the adhesive works at its peak:
- The “Rubbed Joint”: When working with smaller pieces, apply glue before rubbing both surfaces together. This enables the adhesive to be evenly distributed while expelling air pockets trapped inside.
- Sizing the End-Grain: End-grain wood consumes ridiculous amounts of water. Thus, it will suck away the glue if you apply it directly, leaving you with a “starved” joint. This is why “sizing” matters. By sizing, you apply a diluted layer of adhesive to seal the pores first before a full-strength layer, the moment the first set has become somewhat tacky.
- Clamping Pressure: Consistent clamping is crucial, as the bond depends on polymers forcing their way into the pore spaces of material surfaces. By doing this, you are physically knitting the fibers and not just holding the pieces together.
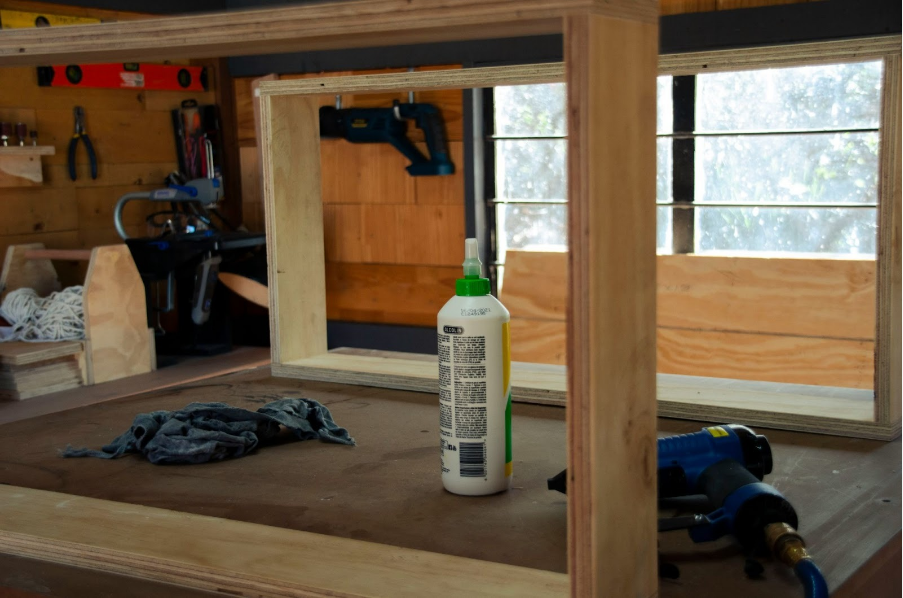
Professional Cleanup and Storage
The “finish” is any project’s final stage. If there is still glue on the finished work’s surface, it becomes a barrier to oils and stains. This leaves blotches that are not visually pleasant. So, when you complete your project, cleaning is non-negotiable, and here is how to do it like a professional.
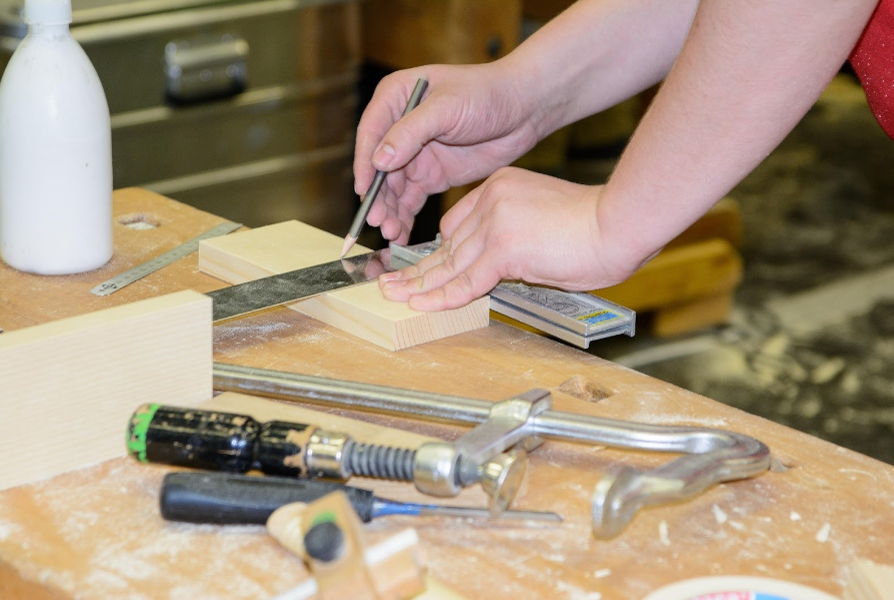
- The “Skinning” Method: Many professionals don’t wipe adhesive off immediately. Wiping wet glue off a surface can smear it deeper into the grain. Instead, some wait for about 20 minutes for the glue to “skin” into a rubbery consistency before they peel it off with a sharp object or chisel.
- Shelf Life: Store your stash or supply in a temperature-controlled area to keep it viable. If you keep your glue in an extremely low temperature environment where it freezes, the polymer sphere clumps, and the glue will lose its potency.
Summary
Polyvinyl Acetate is not just a basic craft supply; it is a craftsmanship enabler. This sophisticated polymer bridges the gap between amateur projects and professional craftsmanship. It can take your DIY tasks to the next level in no distant time.
Once you understand its drying cycle, dilution potential, and porous penetration, you get into the zone where you create DIY projects that last. Not only is it the strongest tool for anyone who wants to master the art of crafting, but it is also the most affordable and safest.
From the experienced handyman to the curious mom who wants to involve their kids in wholesome bonding moments, PVA makes all the difference.